News
Minestrone Soup with Italian Herb Olive Oil
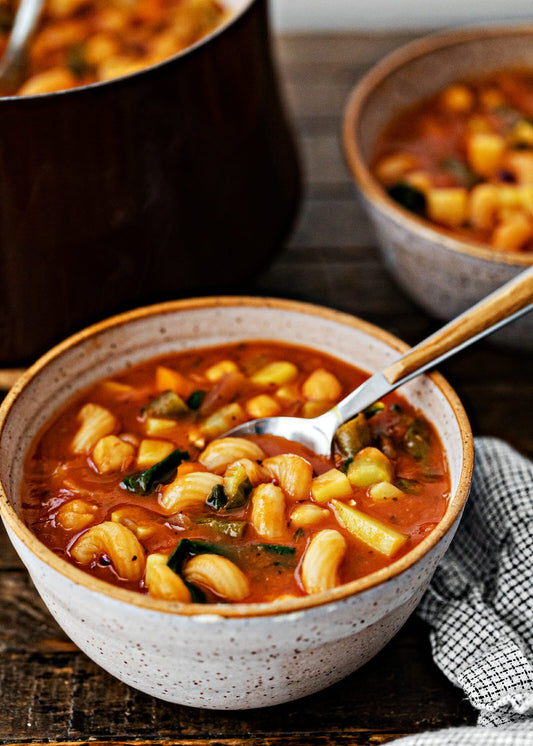
Ingredients 1 large onion, diced 2 bell peppers, diced 3 cloves garlic minced 2 Tbsp. Italian Herb olive oil 1/2 lb. fresh mushrooms 2-3 stalks celery, rough sliced 2...
Minestrone Soup with Italian Herb Olive Oil
Ingredients 1 large onion, diced 2 bell peppers, diced 3 cloves garlic minced 2 Tbsp. Italian Herb olive oil 1/2 lb. fresh mushrooms 2-3 stalks celery, rough sliced 2...


Mustard Crusted Chicken
Have some artisan mustard and want to know how to use it? Here is a great recipe on how to use fancy mustard and not have to deal with the...
Mustard Crusted Chicken
Have some artisan mustard and want to know how to use it? Here is a great recipe on how to use fancy mustard and not have to deal with the...

Herb Preserving 101
Aloha beautiful people! It seems that summer went out and autumn is on her way in. Today is the day I have been longing for. Rainy and cool and...
Herb Preserving 101
Aloha beautiful people! It seems that summer went out and autumn is on her way in. Today is the day I have been longing for. Rainy and cool and...
